Connect via Salesforce
Preferred — keeps you in real-time sync. Deal Brain connects as a Connected App, so changes flow both ways between Salesforce and Deal Brain. Requires a Salesforce Admin to approve the integration.
Import via CSV
Fallback — no Admin approval needed. Export an opportunities report from Salesforce and upload it during Deal Brain onboarding. Good for getting started, but data doesn’t stay in sync.
Connect via Salesforce (Connected App)
Deal Brain connects to Salesforce as a Connected App. A Salesforce Admin must approve the integration before users can authenticate.Common errors
If you see any of the following errors when attempting to log in, access has not yet been granted by your Salesforce Admin:OAuth App BlockedOAuth ErrorOAUTH_APPROVAL_ERROR_GENERIC
Admin approval flow
Confirm Deal Brain is installed as a Connected App
In Salesforce, go to Setup → Apps → Connected Apps → Connected Apps OAuth Usage, find Deal Brain, and click Install.
Configure user access
Once installed, click Manage App Policies and ensure Permitted Users is set to All users may self-authorize (default).
Permissions
Deal Brain requests the following OAuth scopes:| Scope | Purpose |
|---|---|
email | Identify the authenticated user |
openid | Identify the authenticated user |
profile | Identify the authenticated user |
api | Read and write Salesforce data |
offline_access | Maintain access without requiring re-authentication |
What we do with these permissions
- Query and sync field definitions for Accounts, Contacts, and Opportunities
- Sync a subset of Opportunities and field values (selected by the user during onboarding)
- For that subset of Opportunities, sync related Account and Contact objects
- Write Opportunity field values back to Salesforce when a user edits them
Import via CSV
If you can’t get Admin approval for the Connected App right away, you can still onboard by exporting your opportunities from Salesforce as a CSV and uploading them during Deal Brain onboarding. This path gets you up and running quickly, but it’s a point-in-time import — data won’t stay in sync automatically the way the Connected App keeps it. You can re-run the export later to refresh.Build the report in Salesforce
Create a new report
In Salesforce, go to Reports → New Report and choose the Opportunities with Contact Roles report type. This is a built-in Salesforce report that joins each opportunity to its contacts in a single export.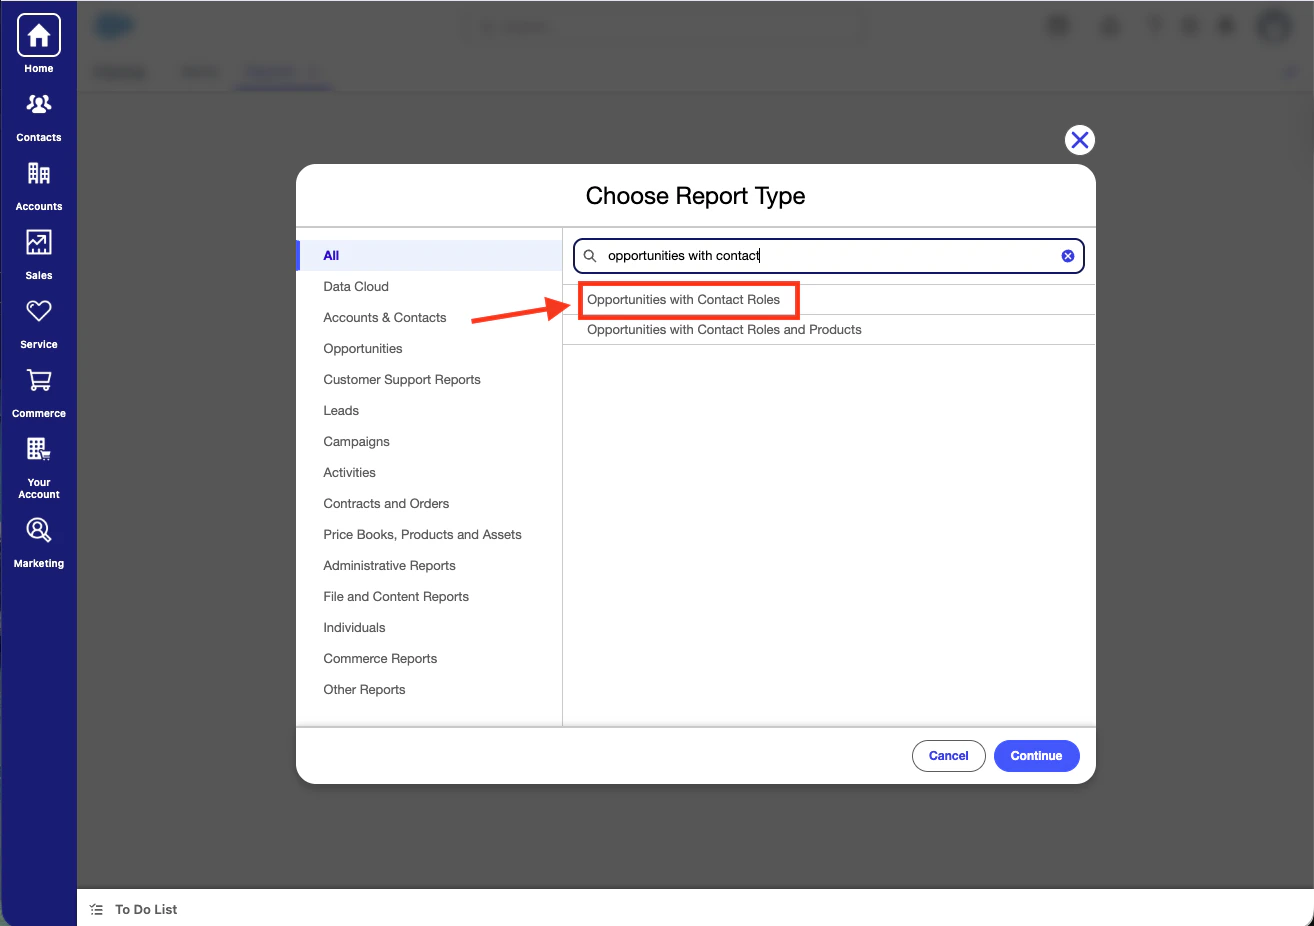
Add the columns Deal Brain needs
Click Edit in the top right and use the columns picker to add the opportunity fields you want to track and manage in Deal Brain. This report will act as the source for what Deal Brain knows about your book of business. Many of the fields automatically visible (e.g. mailing address) may not be useful for your deal management, so feel free to unselect these.A good starting set:
| Object | Recommended fields |
|---|---|
| Opportunity | Name, Amount, Stage, Close Date, Next Steps, plus any MEDDPICC or custom fields your team uses |
| Account | Account Name, Account Website |
| Contact | First Name, Last Name, Title, Email |
Check the filters
Open the Filters tab and confirm you’re getting the opportunities you expect. The default Close Date filter is often too restrictive and hides open deals — broaden it if your row count looks low.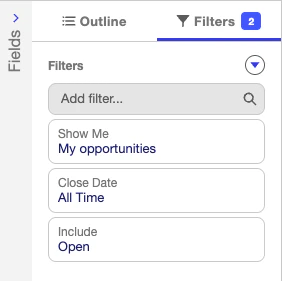
Save the report
Save the report inside Salesforce (e.g. Deal Brain Export) so you can re-run it later when you want to refresh your data.
You’ll see one row per opportunity–contact pair, so opportunities with multiple contacts will appear on multiple rows. That’s expected — Deal Brain handles the deduplication on import.
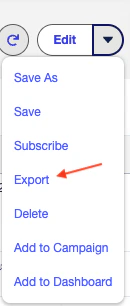
You need the Export Reports Salesforce permission to download the CSV. If the export option is missing, ask your Salesforce Admin to grant it.
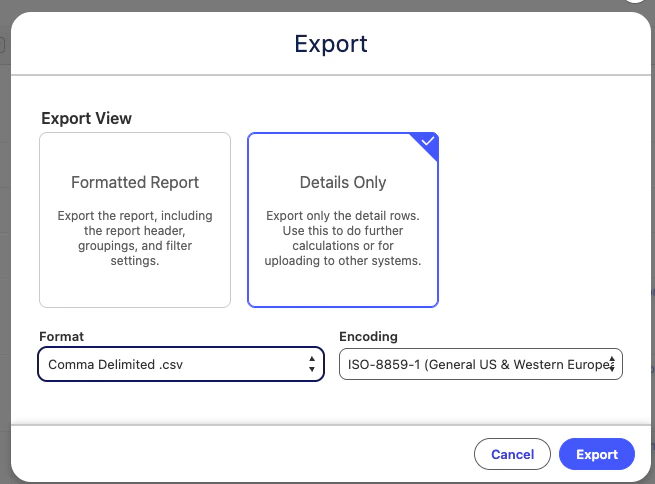
Upload to Deal Brain
Choose the CSV path in onboarding
During Deal Brain onboarding, click Upload a CSV of your opportunities instead.
Drop in your CSV
Upload the file you just exported from Salesforce. Deal Brain will read your column headers and map them to its fields automatically.